Monday 28 March 2016

Being Fairy Fabulous: Sprout Some Wings


I'm one of those people who likes the little things in life; the finer things, if you will. Small things can make me really, really happy. Part of the reason why I named this blog Feeling Faerie Fabulous is because I think it's really important to feel good - about yourself, about your life, about how things are going, and so on. Those little things really tie it all together. Finding inner peace, a mindful mentality, strength, and the journey of self-discovery in general can take a long time, but there're some things that can make the journey a little more fabulous. Now, I'm not saying material things will bring you inner-happiness, but there are some simple luxuries that can make life more magical, if you will. Let's begin~


1. Slippers~

If you're still walking around your house bare-footed with chilly toes, then it is time to invest in somewhere for them to hang out - somewhere that makes both of you happy, ideally. There's something about having the right pair of slippers that can really define you. Further, slippers always make great gifts.


I've got some sequin'd slippers and super soft starry slippers, 'cause I shine bright and I'm a super star ;)


2. Bubbles

Aside from the wonders of mother earth, bubbles are basically the most magical things ever. Not only are they super shiny and colourful, but they seem to make everyone happy. Want to bring smiles to strangers' faces? Blow some of this fairy dust their way. This is Lynda tested & approved.


I've got myself a few variations of bubbles, as seen above. The green ice cream bubbles smell like mint (so awesome), the butterfly bubbles sit at my sewing machine desk for when I need a break from that madness, and the little bubble container is wonderfully & conveniently portable. And now...


 This is my bubble gun. It's likely to be the best ten dollars I ever spent. Not only does it spew so many bubbles that an army of kids couldn't pop 'em all, but it flashes an array of colours AND DID I MENTION IT SINGS 'Boom, Boom, Boom, Boom' by the Venga Boys? 'Nough said.
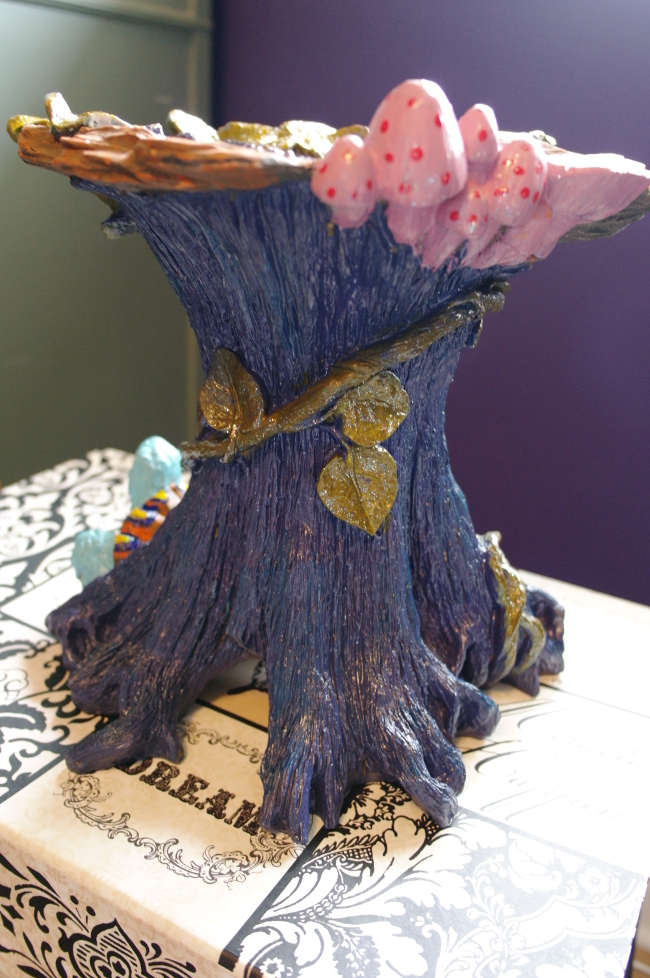
3. Fairy Treasure~
Whether you're into earrings, body jewelry, rings, or necklaces (like me), you can (almost) never have too many pieces of jewelry that inspire you. Of course, it doesn't have to be expensive jewelry, 'cause then you'd worry about it all the time, but I find that my favourite necklaces are as precious as diamonds to me.


All of my necklaces have stories and meaning to me. One of my favourites is my harmony ball (long necklace, blue, third pin from the left), which was given to me by my boyfriend's mum. If you're familiar with harmony balls, you know they chime similarly to a bell, but much gentler and even more beautiful. The beautiful sound they make is wonderful for when you experience stress or anxiousness, however it makes me happy all day long.

Another favourite of mine is my dandelion puff (long necklace, brown cord, second pin from the right). My boyfriend made this one by hand for me. It's a clear globe with a cork in it, containing several dandelion seeds. The idea is that wherever I go, I'll always have wishes with me. He's the sweetest guy ever. I'm super lucky! Sorry for the mush-factor. Also sorry to Jasper for potentially embarrassing you by bragging about how awesome you are.


Alright, so that's the end of my post for today! I hope that someone finds enlightenment in it, somewhere. Since I'm really into the "fairy" aesthetic value of things, I'm liable to post about more things that make me happy, of which I also recommend to others! Thanks for your time!

Friday 25 March 2016

This Magic Moment: Foresta Lumina


By far, one of my favourite experiences in my life thus far has been visiting this awesome place: Foresta Lumina, located in Coaticook, Quebec. This night-time walking trail features an array of beautiful sights & lights, telling stories about the fairies, local legends, and a young lady named Margaret. It's an interactive dreamworld, really. I highly recommend it. Pictures don't do it justice, and yet they're fabulous, nonetheless!

The entrance: a warm welcome~ You pick up a "wish stone" and whisper your wish to the fairies. By reading the glowing text on these pillars, you are introduced to the story and it's characters.


(This photo of Foresta Lumina is courtesy of TripAdvisor)
Several areas feature glowing fairies, illuminating patterns through the woods.

Spooky~ apparently this guy is based off a Native myth! 

Using projectors, MomentFactory (the makers of Foresta Lumina) animates this tree into a story.

The gorge is illuminated with these rainbow dots, where you leave your wish stone among Inukshuks. As you leave, you pass over the gorge, listening to the water on your way out.

Among other light displays, the trailway features the largest suspended footbridge in North America. Amazing!

In a World of Glass


Due to the weather as of late, where I live has been transformed into an icy dream~ While it can be a bit treacherous to travel in and can cause some damage, it's beautiful if you look at it the right way. Everything is encased in class, sparkles in the sunlight, and shines no matter which way you look at it.


The birds are all floating around the feeders. They're skating, actually. It's pretty adorable.


Admittedly, it's a wee bit chilly. Luna wouldn't have any of it. We're going to stay inside and drink homemade lavender tea instead, and watch out the window of our ice palace. She, of course, likes birds too. More so than I, really. I wonder why! :)


Thursday 24 March 2016

This Magic Moment: Fantasywire Sculptures


Several months ago, I came across this British artist, Robin Wright, and his magical sculptures. Whenever my feed is graced by his handiwork, my mood is lifted~ I thought I'd share the love!


Below, you'll find one of these fairies in action; dancing in the wind~


I'm so in love~


** all images retrieved from the "Wire Sculpture by Fantasy Wire" Facebook page: https://www.facebook.com/Fantasywire/photos **

Monday 21 March 2016

How to Make a Dress in 10 Minutes

When you need a quick dress with minimal sewing, cutting, or other work involved, and find yourself without a pattern, it's a useful skill to be able to make a dress in as little as ten minutes. I was originally found without anything green for St. Patrick's Day, so the night before, I whipped together a little green number from some leftover spandex/lycra (the same kind as Lululemon uses, actually). The style I've designed is fitted, knee-length, with halter tie-neck straps, and fullness (to create pretty drape effect!). Interested?


Of course it's a minimalist style, but it's tasteful, and considering that it was made in literally ten minutes and required one seam (yay for minimal sewing), who can complain?

So, without further ado, here are a couple images to help you make your own 10 minute dress:
Here is your layout!! Don't cut yet though! Spread the fabric folded in half to create two layers. The side that is showing to you right now is the inside, so if your fabric has a pattern, have it inside the fold at this time. The shape that you see here is exactly the shape you will be cutting, unless you want a different neckline than what is seen in my photo. Remember, by tying the halter neck straps higher or lower, your neckline will also rise or fall.

Here you can see what area of the image is what, so you know what's up. The left side of the image is the hemline (bottom of the dress), and the right side is the straps that tie around your neck. Be sure your fold is in relation to where the fold in the image is (at the bottom).

Here are the areas and measurements necessary to create the shape of your dress. I used tailor's chalk to mark the measurements, and cut in body-like curves from one point to the next. Feel free to mark up the dress as you like, because at this point, your dress is inside-out. Also, as you take measurements, remember that we're working with spandex, which is stretchy, so it's forgiving to a degree. Don't make your measurements too big, or your dress won't turn out as form-fitting as mine. That's not necessarily a bad thing, though! If you were interested in not having the fullness, you would maintain your hip measurement from the hip-line (as shown above) down to the hem.
 Here is the stepwork:
1. Lay fabric, folded on an edge, on a flat surface. Wash & iron beforehand as necessary (helps with accuracy and prevents unexpected shrinkage in the future)

2. Mark your neckline. It could be curved, straight, whatever you like.

3. Measure straight down from this neck point to where you want the hem of your dress to be. I think mine was about 60 cm, but all bodies are different lengths to input your length accordingly!

4. Measure 7 inches down from the point of your neckline (see the image for a visual), and mark. From this point, your waist measurement will go to create a 90 degree angle.

5. Measure your waist circumference, and input is where the diagram shows.

6. Measure, on yourself, from your waistline up to where you want your neckline to sit (bust level). Use that measurement on your dress. Input your bust circumference from this point (refer to image for a visual). This forms your back shoulder area as well, so be sure to style that as you'd want it. Look at my pictures to see where mine sat, below the shoulder blades.

7. Measure your hips and their relation to your waist, and ensure that the length of your dress is not any smaller than that measurement, so as to create the drape effect!

8. The seam at the back of the dress is called the center-back! Shape it as you desire. If you like my style, mimic what I have there!

9. Time to cut, according to your pattern. For the hem, give it a slight curve.

10. Once cut, sew one long line along the center-back seam. I used a serger, but a sewing machine will work too, just don't make the seam allowance too big or the dress will be too tight. Remember, spandex stretches a fair amount so if you don't make the seam allowance too big, then it will stretch to a form-fitting style, no problem.

11. Wear your dress wherever you so desire... it's ideal for costume parties, festivities, etc., however if you finished the neckline, hem, and underarms, it'd have a more professional appearance. However, the spandex/lycra used here does not fray easily, and thus it can go without finishing for at least awhile!


Thanks for reading!!

Pottery Painting~

On Valentine's Day, I used a pottery wheel for the first time! Now that my project has been fired, it's ready to paint~ so Jasper and I went back to the location to do just that. With lots of colours to choose from, we embellished our lovely creations..

I'll be sure to post the end result, however it may take a couple weeks since it has to be fired again to melt the paint into gloss, but regardless, it's neat~

I tried a few different kinds of paint, including the base coat, a glittery top coat, and another kind that turns into weird spots and through the firing process, turns from red to green..? I'm skeptical, but super excited for how it'll turn out.

Saturday 19 March 2016

Morning Smoothies


Every day, I have a nutrient-rich, anti-oxidant packed, fruit smoothie! As a vegan, I have quite a lot of energy throughout the day, and I primarily attribute that to my smoothie breakfasts.


Bananas are a must in my smoothies, and I'm also really big on strawberries and cherries, however I also use other berries and fruits such as pineapple, blueberries, and mangoes. I use water and some orange juice to make the blending a breeze, and get my drink to the right consistency! Add in a scoop of greens, and I've got a great breakfast.

What's also great is that I can make a smoothie in just a couple minutes, and drink it on the go, on my way to class. Considering the health and convenience aspects, I really recommend them as a breakfast go-to for anyone~


Yummy~

Thursday 17 March 2016

Elephantasy

Here's a fabulous elephant to brighten your day~
P.S. St. Patrick's Day is a good excuse to be a green fairy!

Monday 14 March 2016

Make a Difference for Free

Everyday, with a simple click & just seconds of my time, I donate food to animal shelters all over North America, through the Greater Good site.

How it works: Everyday, Greater Good (http://www.GreaterGood.com) works with organizations who sponsor the causes seen on the website. For every click, that organization donates the corresponding amount. Sponsor organizations also help the materials get to where they need to go. GreaterGood is very transparent about all this, so if you want more specific info, browse the pages of each cause. They also provide stats and a map of locations that have benefitted from these programs. It really adds a personal element to your free donation.

So, with a simple click on any (or all) of Greater Good's programs, you can donate food to impoverished peoples, fund mammograms for women in need, help a child with autism, give a meal to a homeless veteran, fund Alzheimer's research, and more (see below).

Give a Child a Book ~ TheLiteracySite.GreaterGood.com

Conserve Wildlife Habitats in the Rainforests ~ TheRainforestSite.GreaterGood.com

Donate Food to Animal Shelters ~ TheAnimalRescueSite.GreaterGood.com

If you're really dedicated to a cause, you can sign up for reminders everyday, once a day. I do this, and instead of waking up in the morning & simply browsing Facebook or some other social media platform, I make a tangible difference in the world. You can too!

P.S.: I'll hyperlink all those webpages this evening so you can click 'em instead of copy&paste! It's just that I'm working on mobile (tablet) whilst at school, and thus no HTML. Soon, though!!

Sunday 13 March 2016

Revamping Some Garden Decor!

I'm so happy it feels like Spring! I'm so excited for flowers, rich green grass, and all the wonderful and unique plants that come along with it. While I can't force any pretty colours to pop out of the ground (especially this early on), I can still prepare for when I meet them, by making my own! So today, I've chosen to revamp an old garden piece that's looking a little weary.


So, here is the subject, fresh out of the garden where it slept all winter (oops).
As you can see, it's pretty faded and need a little scrub. However, it does have a couple cute turtles on it. I've had this garden decor/flower pot holder for a couple years now, but I can't remember exactly where I got it. There are two possibilities that stick out in my mind: 1.) I grabbed it off the side of the road in a nearby subdivision whilst on a Summer walk (if you ever need flower pots/boxes, I advise taking a look during gardening season), or 2.) I got it at the second-hand store! Either way, garbage dump averted! It's had a home in my yard ever since, however I want to make it a little more personal. I already have a couple pink/purple glittery mushroom stakes in my wee flower bed (of which I added my own touch to also), so I think it's time for a makeover on this baby, too.

So, after a wash in the laundry tub, we're already looking a little shinier. No surprise there I suppose!


One thing I found sort've interesting, here. This piece is from 1997! Almost twenty years old! 


Now, down to business.. Supplies!
I'm using acrylic paints (just the general selection from my stash), and a few cheap brushes, as there's no sense in damaging nice brushes on an outdoor piece. I especially favour a small size of sponge brush as it covers a fair amount of surface matter quickly, and still has the ability to get into the nooks & crannies. Naturally, I also have water to rinse things, an old wash cloth to dab on, and newspapers to protect the area... oh, and some awesome space drum music to inspire me!


So I spend a couple hours just working on this, made some peppermint tea, and just enjoyed the process... Miss Luna wanted to help, too.

Without further ado, here is the finished product!


Yay! There's nothing like customizing something with your personal style. I think all I have left to do is apply some lacquer on it to make it water/outdoor-proof. I worry about all the chemicals and stuff, but it's worth remembering that making an entirely new product from unused resources is worse. Through refinishing, upcycling, and diy, we conserve those resources! Reuse, reinvent! Use your fairy-wonderful imagination! xo


Friday 11 March 2016

Rainy Day Fairy


Just a friendly reminder that even when it's raining, you can still be cute and wear a smile~

Wednesday 9 March 2016

Vegan Treat~


"Make like a banana and split!"


So I'm spoiling myself tonight with a banana split & some Nintendo! This has got to be the the healthiest banana split I've ever had..

..complete with a strawberry sauce I whipped together, made with maple syrup, crushed walnuts, and several cherries on top (and not the bleached & soaked in liquid sugar kind, either). Of course, the ice cream is plant-based, Almond Dream.